Adjust/Calibrate Hole Sensor
Start the manualControl.py application with the commands:
cd ~/GugusseRoller
./manualControl.py
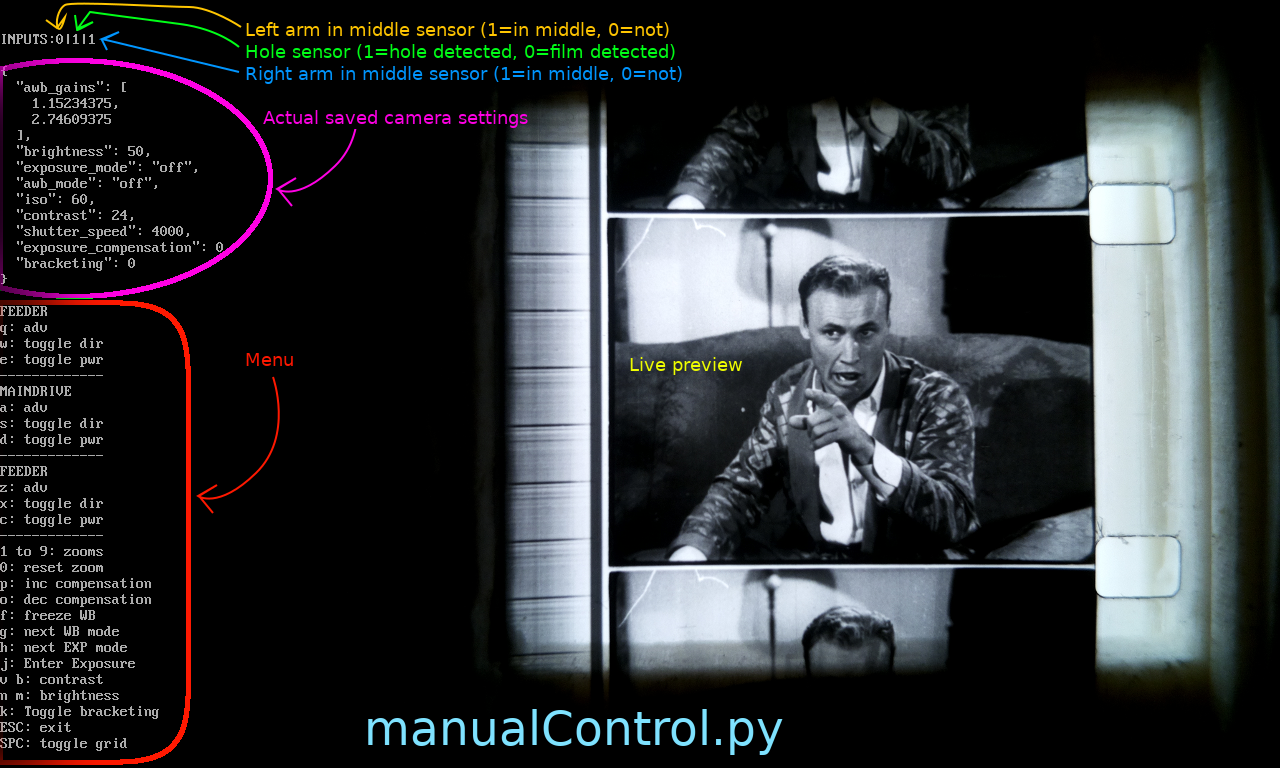
The manualControl program always takes a few seconds to initialize its camera properly. After that, you will be able to apply the proper tension to the film, all you have to do is to turn the turntables until you align the 2 swinging arms for each to be in their middle position. As indicated in the Menu on the screen; use “q” and “z” to make the turntables to turn (“w” and “x” to toggle the direction of your turntables), to know if the two arms are in the middle you can read the INPUTS status on the top left of the screen, insure you got a “1” on the left and a “1” on the right, that will be the nominal position.
Gross Alignment
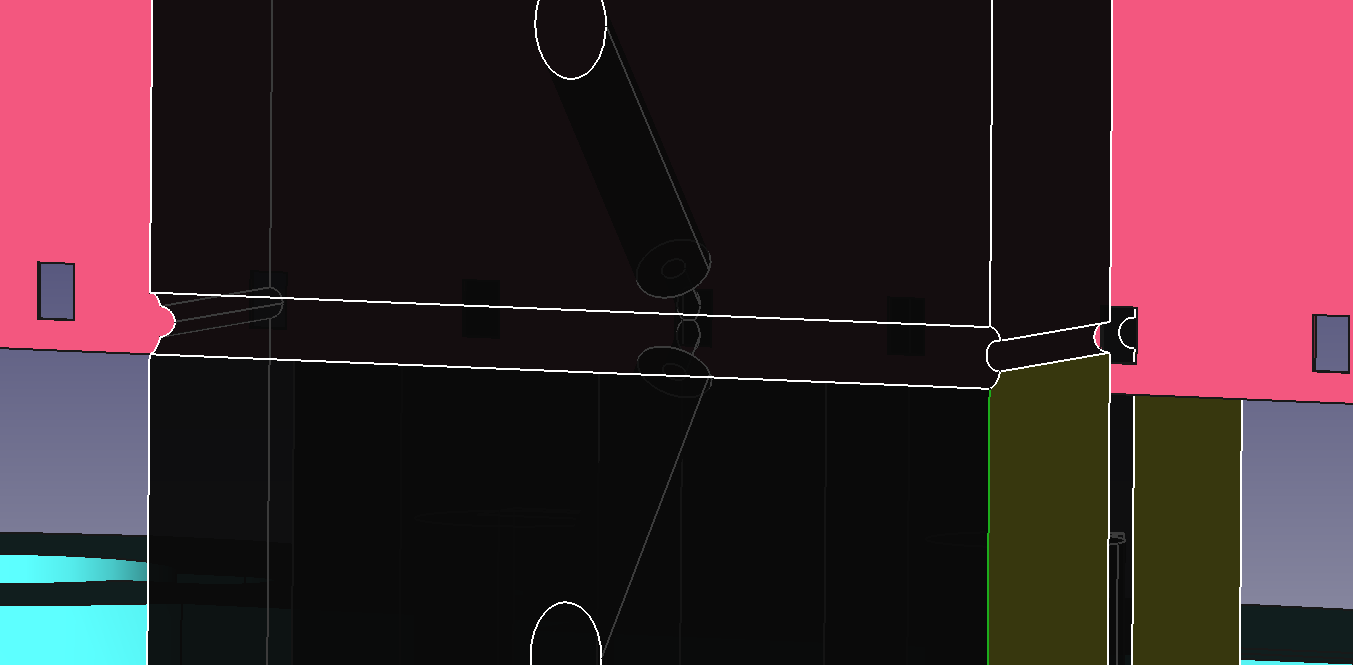
With a screwdriver and the vertical screw that controls the height; align the grooves on the sensor to the center of the film holes.
Fine alignment
On the keyboard press the letter “d” to toggle off the motor of your maindrive and you'll be able to easily turn the small shaft of your main drive with your fingers, thus advancing the film until one hole aligns to the detector, When the center number of the INPUTS turn to 1 that would mean that an hole is in front of the sensor. By turning in both directions try to figure out the middle of that hole, go slowly, the refresh rate of that application can be slow and there could be a small delay between the moment the status change and the moment you see it on the screen.
Once you found the left-right middle of the hole then try to find the up-down middle of the hole with the screwdriver.
Possible Issues
- Hole or no hole, film or no film the value is always 1:
- Could be tape on the film at this position
- Could be a bad connection with the 2-pins connector.
- Could be one or the 2 lightpipes which are not well seated to the bottom of their holes.
- Could be a blocked cylindrical hole on the sensor (use a sewing pin to verify)
- When all other possibilities are checked out, try to increase the sensitivity by screwing clockwise the blue variable resistor “sensor adjust” on the controller board.
- Hole or no hole, the value is always 0:
- Something is stuck in at the junction of the 2 cylindrical holes, (check with a sewing pin)
- the cylindrical holes for inserting the lightpipes are too big (3D printing issue)
- the sensor sensitivity could be too high, decrease by screwing counter-clockwise the blue variable resistor “sensor adjust” on the controller board.


